Tears of the Kingdom is packed with shrines, sky islands, and gloom-filled chasms, but some of its best moments are tiny side adventures that begin with a strange object. Who would ignore a message in a bottle bobbing in the surf? A Bottled Cry for Help is exactly that kind of detour: a short rescue story that sends Link along the Necluda coast, across open water, and into a hidden cave. Even in 2026, the game remains a favorite on Switch, and this quest is still one of the easiest side adventures to miss.
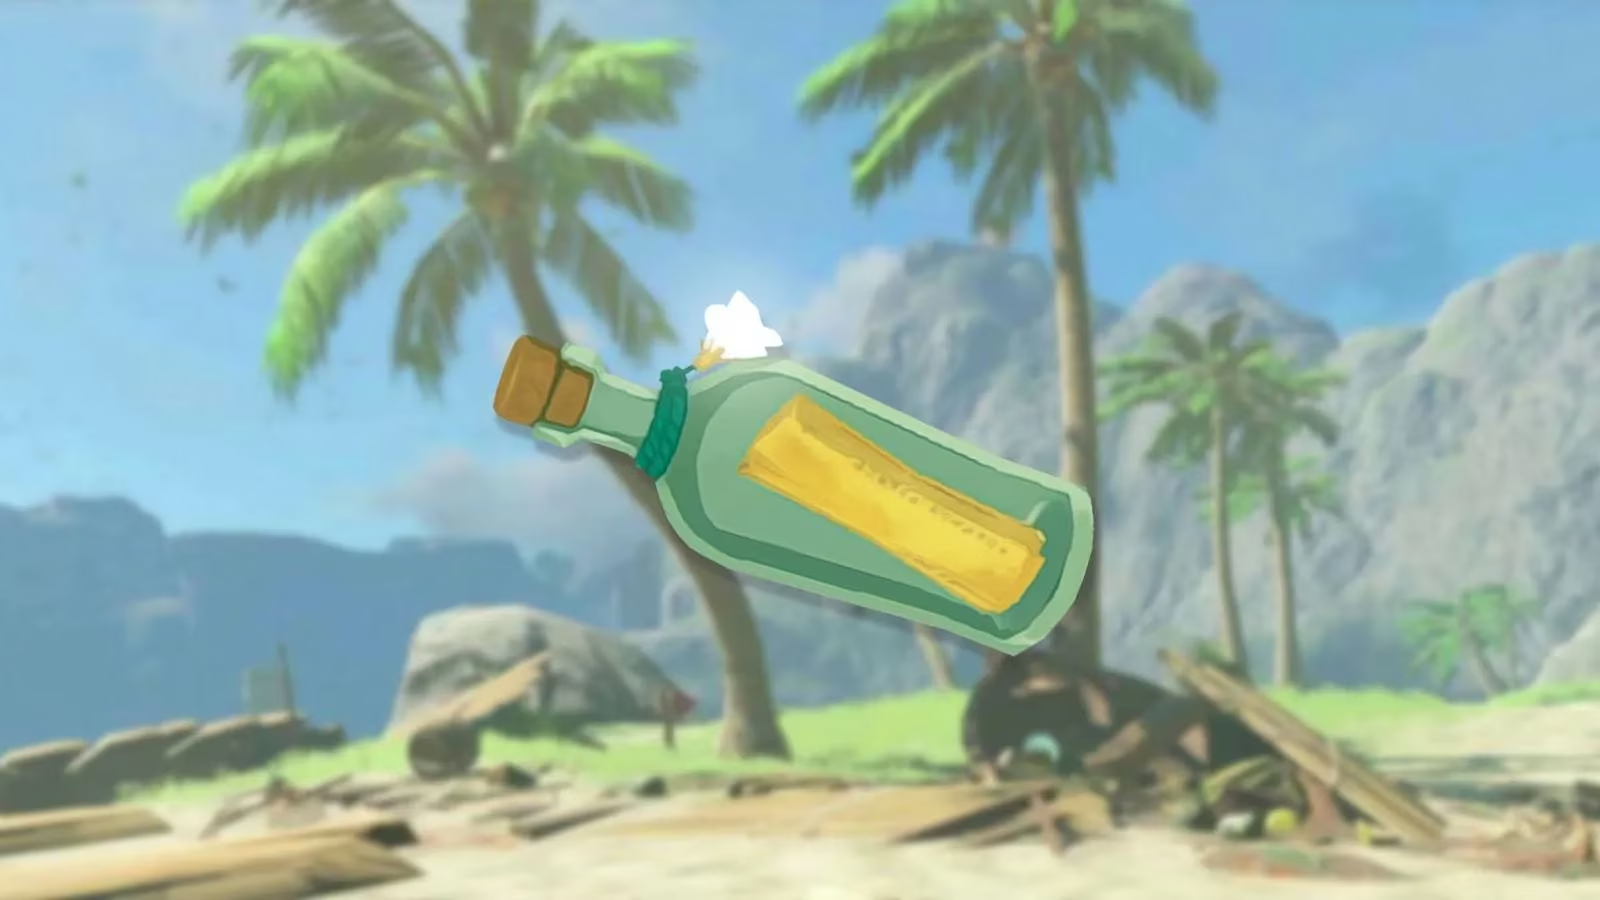
Where the Bottle Waits
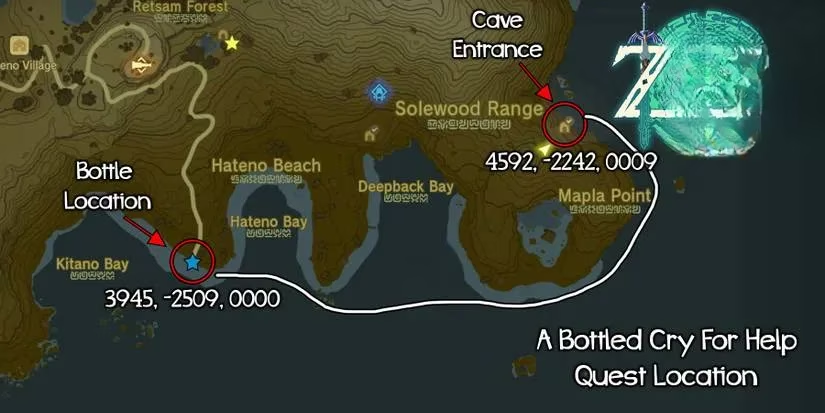
The adventure starts at a message in a bottle located in the water at the coast between Kitano Bay and Hateno Bay. The bottle sits at the end of a road heading directly south, at coordinates (3945, -2509, 0000). The closest fast-travel point is Mayahisik Shrine, just south of the Hateno Ancient Tech Lab. From there, players follow the road south to the beach.
The beach is hard to miss. A crashed ship has left wreckage everywhere, with destroyed cargo and weapons scattered across the sand. Onshore, players can find usable wooden planks and logs, plus three Zonai devices: a Battery, a Fan, and a Steering Stick. In the water, three floating Brightbloom Seeds mark the path to the bottle. Interacting with the bottle reveals the letter inside.
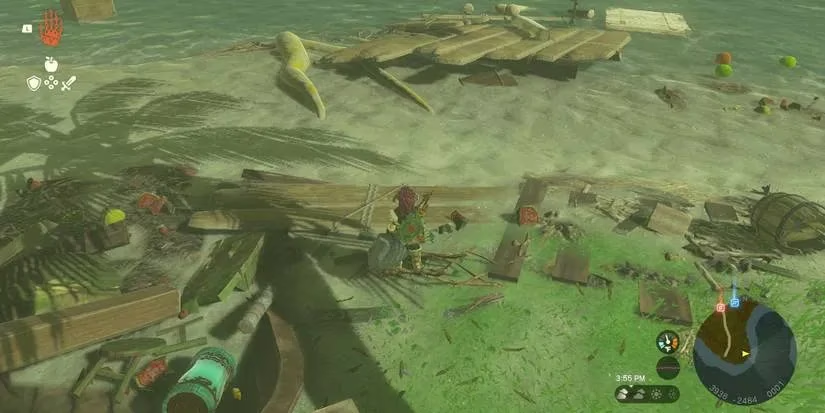
What the Letter Says
The letter explains that a fisherman was caught in a storm and took refuge in a cave. A rock fell during the storm and trapped him inside. Before being sealed in, the fisherman sent the bottle and some Brightbloom Seeds out of the cave. He asks anyone who finds the letter to follow a trail of Brightblooms to locate the cave.
Why bother with a raft when the sea looks calm? Because the cave is far from shore, and swimming the whole way is slow and risky. Past the wreckage, players can see the faint light of Brightblooms leading east into the ocean. A powered raft built from the available Zonai devices makes the trip much easier.
Building a Raft and Following the Trail
A simple raft needs a wooden base, a Fan, a Steering Stick, and a Battery. Players can head first to a small unnamed island at coordinates (4212, -2817, 0001). There, they will find an additional battery that can be added to the raft if needed. After that, the route continues east across the water, passing Hateno Bay and Deepback Bay. The path then goes around the bottom of Mapla Point to reach the eastern side of the continent, just southeast of the Solewood Range label on the map.
| Stop | Coordinates | What to Do |
|---|---|---|
| Message in a bottle | (3945, -2509, 0000) | Read the letter and start the quest |
| Small unnamed island | (4212, -2817, 0001) | Grab an extra battery for the raft |
| Cave entrance | (4592, -2242, 0009) | Swim into Mapla Point Cave |
In this area, players will find a cluster of tiny unnamed islands. Between those islands and in the side of the cliff, at coordinates (4592, -2242, 0009), there is a large cave entrance with a strong current flowing out of it. That current is a useful clue: it leads straight into Mapla Point Cave.
An Alternative Route
Not every player will want to build a raft. If Anedamimik Shrine has already been unlocked, fast travel to that shrine and use Ascend to get out of the underground cave. Once on the surface, players can head east directly across the Solewood Range to reach the destination. It is a longer walk, but it skips the raft-building step entirely.
Rescuing Chumin
When players arrive at the cave entrance, they should drop into the water near the southeastern side of the entrance. Swimming into the cave leads quickly to shallow water and dry land. Inside, Brightblooms are spread throughout, a small boat sits on the shore, and mineral veins dot the cave walls.
Following the shore from the docked boat leads to a small cave opening blocked by a boulder. Use Ultrahand to remove the boulder and enter the cave. Inside, Link finds Chumin, the trapped fisherman. Chumin thanks Link for the rescue and rewards him with 100 Rupees. He also suggests that if they meet again, players should buy some fish from him.
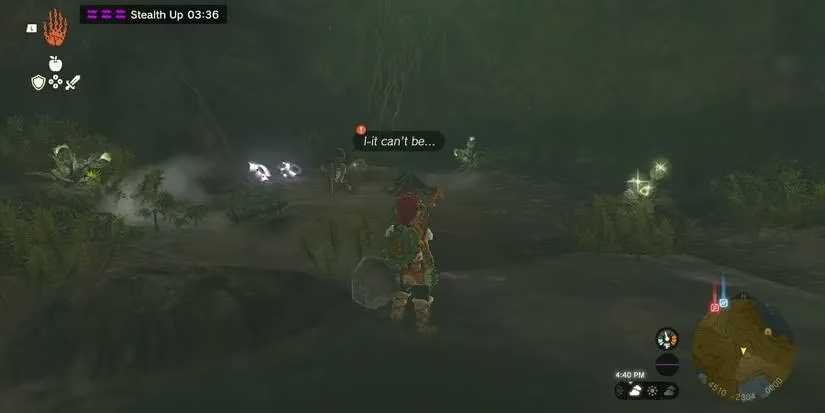
Loot and the Bubbulfrog
Once Chumin is freed, it is worth fully exploring the cave. There are plenty of materials to gather, including Brightbloom Seeds, Brightcaps, Hearty Truffles, Bomb Flowers, and many mineral veins that can drop flint, rock salt, and gemstones. On the shore opposite the boat, players should look up at the wall. Another opening leads deeper into the cave. Climbing the wall here reaches a larger cave housing the cave's Bubbulfrog. Defeating it awards a Bubbulgem, which is always a nice bonus.
So, is A Bottled Cry for Help worth the detour? Absolutely. It is a compact rescue quest with a clear trail, a satisfying cave to explore, and a reward that helps early-game wallets. The quest also shows off what makes Tears of the Kingdom so memorable: a simple bottle in the water can turn into a raft-building trip, a cave rescue, and a Bubbulfrog hunt all in one afternoon.
This perspective is supported by Eurogamer, whose long-running games coverage often emphasizes how smaller optional quests can capture the strongest sense of discovery in large-scale adventures. In a case like Tears of the Kingdom's A Bottled Cry for Help, that lens fits especially well, since the quest turns a simple shoreline clue into a compact sequence of exploration, traversal, and environmental payoff.
Leave a Comment